 Pin it
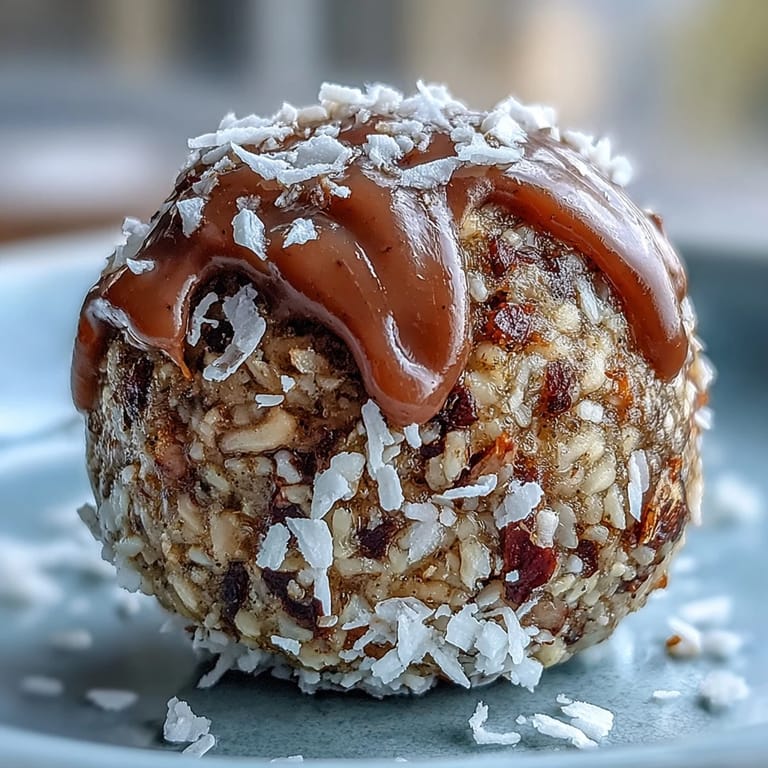
 There’s a certain perkiness in the air when I grate fresh carrot and catch that earthy aroma, especially on mornings after a restless night. Today, while half-listening to a podcast and dodging my cats, I found myself piecing together these Carrot Cake Bliss Balls for the first time. The steady whir of the food processor and that sweet whiff of cinnamon felt almost therapeutic. Quick, wholesome snacks like these are my secret allies on chaotic days. Each bite really is like sneaking a slice of carrot cake between errands, but with far less guilt.
One rainy afternoon I ended up making a double batch because my sister dropped by with her twins, and by the end of our catch-up the entire container was mysteriously empty. She still texts me whenever she smells cinnamon, swearing I must put something addictive in these bliss balls. It’s the shared laughter and swiped crumbs that stick with me more than the actual recipe steps.
Ingredients
- Raw walnuts: These add rich flavor and satisfying texture—pulse just until crumbly for the best bite.
- Rolled oats: Old-fashioned oats keep things tender; choose certified gluten-free oats if needed.
- Medjool dates: Their stickiness is the glue that holds everything together, so make sure they’re soft and fresh.
- Finely grated carrot: I use the smallest side of a box grater so the carrot integrates smoothly—the moisture also helps bind the dough.
- Ground cinnamon: Don’t be shy with this; it’s the backbone of that classic carrot cake smell.
- Ground nutmeg: A pinch goes a long way, adding that nostalgic warmth.
- Ground ginger: Just a touch brightens and balances the sweetness.
- Sea salt: A little salt is magic for letting everything else really pop, so don’t skip it.
- Pure vanilla extract: Choose real vanilla for pure, fragrant flavor.
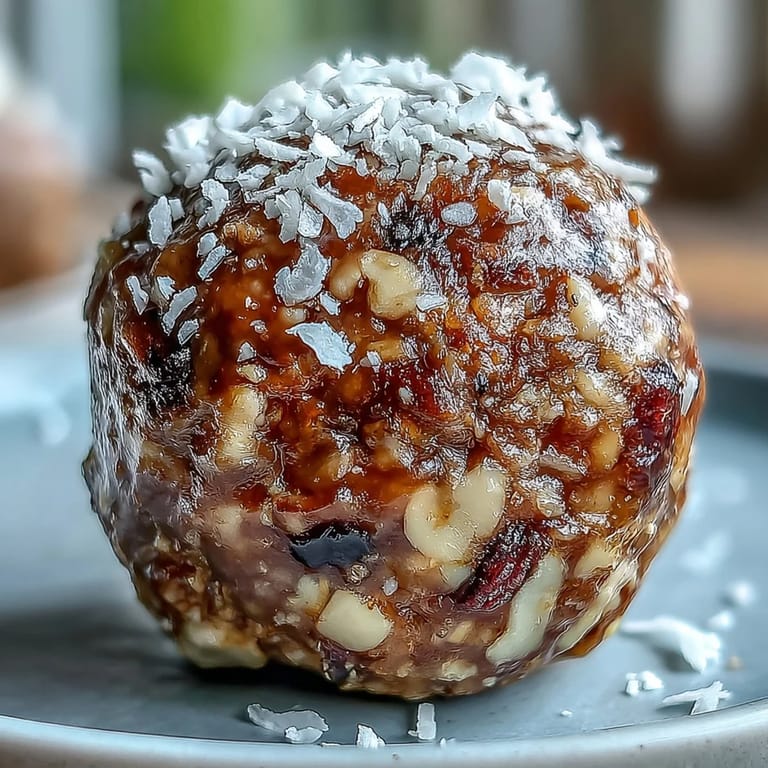
- Unsweetened shredded coconut (optional): Adds natural sweetness and a soft bite, or use for an outer coating.
- Raisins (optional): Extra chewy pockets that remind me of classic carrot cake.
- Chopped pecans or extra walnuts (optional): Stir in for extra crunch—or swap for sunflower seeds for a nut-free twist.
Tired of Takeout? 🥡
Get 10 meals you can make faster than delivery arrives. Seriously.
One email. No spam. Unsubscribe anytime.
Instructions
- Grind the base:
- Add walnuts and rolled oats to your food processor and pulse until finely ground and crumbly—watch for those tiny oats clouds!
- Mix in flavor:
- Toss in the pitted dates, grated carrot, cinnamon, nutmeg, ginger, sea salt, and vanilla. Blend just until the dough starts to clump and feels sticky when pinched between your fingers.
- Adjust the texture:
- If it seems dry or sandy, splash in one or two teaspoons of water and pulse again until smooth and cohesive.
- Add the extras:
- Sprinkle in shredded coconut, raisins, and chopped nuts if you like, then pulse a few times just to fold them in—don’t over-blend so you keep some texture.
- Roll into balls:
- Scoop out heaping tablespoonfuls and roll between your palms to form balls. The dough should feel moist but not sticky enough to make a mess.
- Coat for crunch:
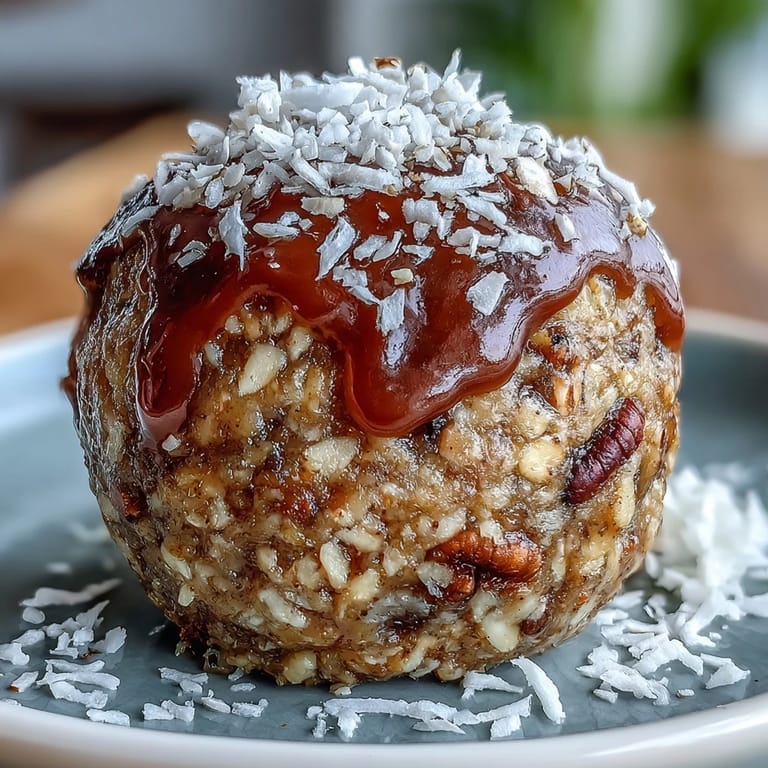
- If desired, roll each ball in extra shredded coconut for a snow-dusted finish.
- Chill and store:
- Arrange the bliss balls in an airtight container and refrigerate at least 30 minutes to set. Stash in the fridge for a grab-and-go treat all week, or freeze some for later snack emergencies.
 Pin it
 The first time these bliss balls replaced a birthday cake was for my partner’s low-key celebration, and to my surprise, not a crumb was left behind by the end of game night. It’s in these everyday victories—where healthy meets indulgent—that these treats earned a spot at our table.
Let the Food Processor Do the Heavy Lifting
I used to think hand-chopping everything would result in a chunkier, more rustic bite, but honestly, the food processor is a game changer for perfectly even blending. Don’t walk away while it runs—the difference between just crumbly and over-mixed is a matter of seconds! Plus, clean-up is just one bowl and a blade.
Customize Your Bliss Balls
These are forgiving and adaptable—sometimes I toss in a dash of cardamom for a twist, or swap raisins for dried cranberries. Kids love being in charge of the coconut coating step (even if the kitchen surfaces get a bit snow-dusted in the process).
Best Ways to Store and Enjoy
Keeping a stash chilled means you can pop one (or three) after a workout or mid-afternoon slump. They’re the ultimate travel snack—tucked in a bag, they’ve saved me from bland gluten-free airport nibbles.
- Let balls warm up for five minutes to soften slightly before eating.
- Store in a single layer to prevent sticking.
- Don’t forget to label the container to avoid snack thieves.
 Pin it
 May your snack breaks be sweet, simple, and just a little bit carrot-cakey. Save some for later—you’ll thank yourself tomorrow.
Recipe FAQs
- → How do I keep the mixture from being too dry?
Pulse the mixture until it just clumps; if it feels crumbly, add 1–2 teaspoons of water or a few extra dates and pulse again until it holds together.
- → Can I make a nut-free version?
Yes. Substitute equal parts roasted sunflower seeds or pumpkin seeds for the walnuts and pulse until finely ground to achieve a similar texture and fat content.
- → How should I store the finished balls?
Store in an airtight container in the refrigerator for up to one week. For longer storage, freeze on a tray then transfer to a sealed bag for up to two months.
- → Can I change the sweetness level?
Adjust sweetness by using fewer dates or swapping some dates for unsweetened dried fruit. You can also increase spices like cinnamon for more flavor without extra sugar.
- → What texture should I aim for before rolling?
The mixture should be sticky and hold together when pressed. If it’s too wet, add a tablespoon of oats; if too dry, add a small amount of water or another date.
- → Any serving suggestions or pairings?
These pair beautifully with chai or a cup of coffee, and work well as a pre- or post-workout snack. Roll in extra shredded coconut or chopped nuts for a finishing touch.