 Pin it
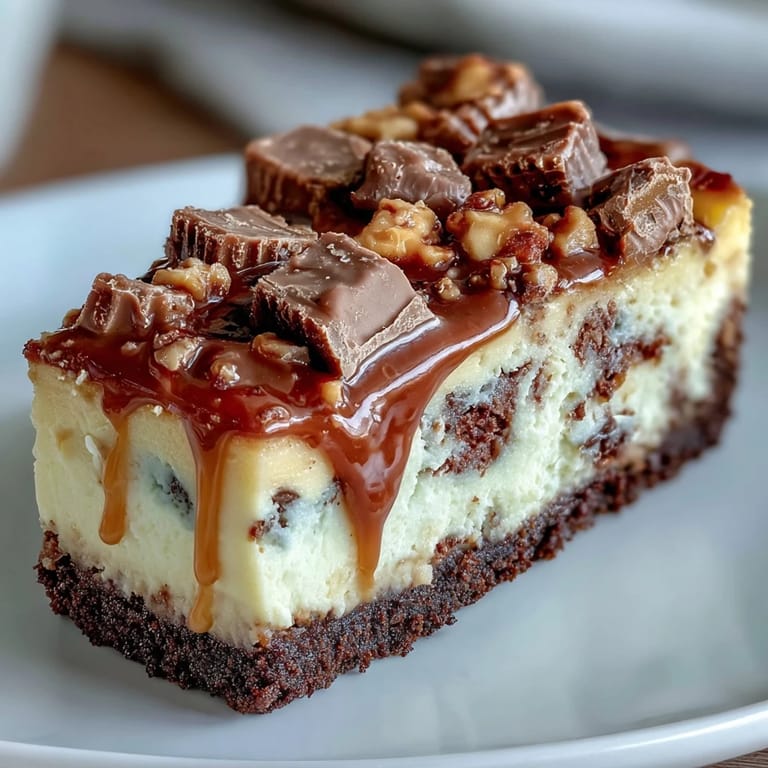
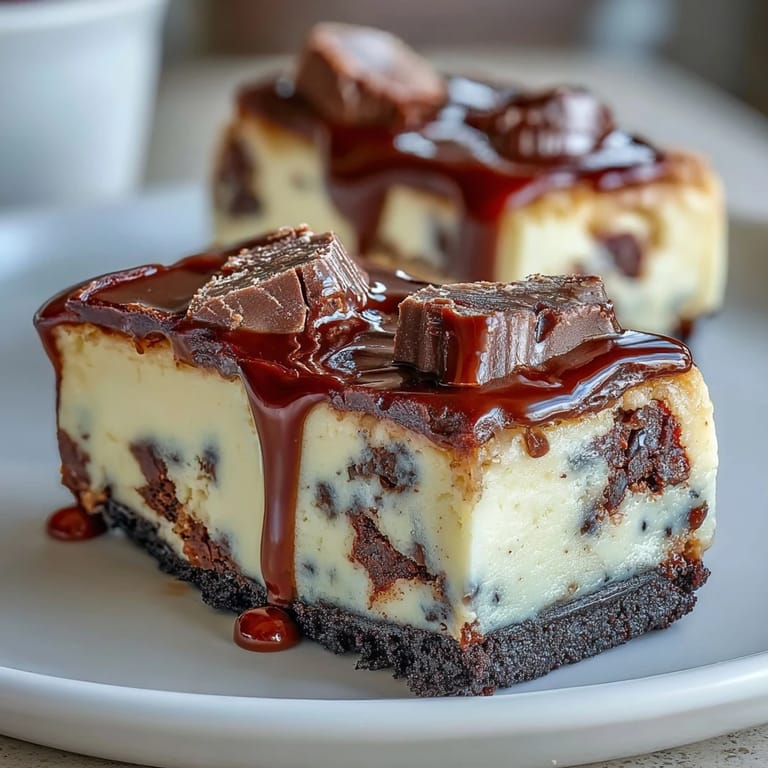
 There's something about the combination of peanut butter and chocolate that stops conversations mid-sentence. My neighbor brought these bars to a potluck last spring, and I watched them disappear faster than the chips and dip. When she finally shared the recipe, I realized the magic wasn't just in the flavors—it was in how the creamy cheesecake swirled with peanut butter cups created this texture that felt indulgent without being heavy. Now they're my go-to when I need something that feels fancy but doesn't require a culinary degree.
I made these for my daughter's book club last month, and one of the moms asked for the recipe before she'd even finished her first bar. There's a particular kind of satisfaction in watching someone's face when they realize the filling is creamy cheesecake and not just a peanut butter spread—it's the good kind of surprise. Since then, I've made four batches, and each time someone discovers they can freeze the extras for up to three months.
Ingredients
- Chocolate cookie crumbs: Oreos work beautifully, but you want to remove the cream filling first—it's a small step that keeps the crust from becoming muddy and ensures the chocolate flavor stays sharp.
- Unsalted butter: This is your binding agent, so don't skip it or try to use oil; the bars need that structure to hold together when sliced.
- Granulated sugar: Keep this separate from the crust and filling—each layer needs its own sweetness balance.
- Cream cheese: Room temperature is non-negotiable here; cold cream cheese creates lumps that no amount of beating will fix.
- Sour cream: This is the secret ingredient that prevents the cheesecake from being too dense and gives it that subtle tang that makes chocolate and peanut butter taste even better.
- Creamy peanut butter: Natural or conventional, but make sure it's creamy; chunky styles will disrupt the smoothness of the filling.
- Mini peanut butter cups: Chopping them yourself means you control the size and distribution; store-bought ones sometimes break unevenly.
- Vanilla extract: A small amount that rounds out the flavor profile without making the bars taste like vanilla cake.
Tired of Takeout? 🥡
Get 10 meals you can make faster than delivery arrives. Seriously.
One email. No spam. Unsubscribe anytime.
Instructions
- Prep your pan and preheat:
- Line your 9x9-inch pan with parchment paper, leaving edges that hang over the sides—this is your handle for lifting the whole slab out later without it falling apart. Set your oven to 350°F and let it reach temperature while you work on the crust.
- Make the crust:
- Crush your Oreos into fine crumbs (remove the cream first, it matters), then mix with melted butter and sugar until it resembles damp sand. Press it firmly into the bottom of your pan—you want it compact so it doesn't crumble when you slice—then bake for 8 minutes until it sets slightly and cool for a few minutes.
- Beat the cream cheese:
- This is where patience pays off; beat the softened cream cheese and sugar together until absolutely smooth with no lumps, scraping down the bowl frequently. Once it's fluffy and pale, you're ready for the next step.
- Add the eggs carefully:
- Add eggs one at a time, beating just until each one disappears into the mixture—overbeating at this stage can incorporate too much air and cause cracks during baking. Then gently fold in the sour cream, peanut butter, and vanilla until the filling is uniform and glossy.
- Fold in the surprise:
- Fold 1 cup of your chopped peanut butter cups into the filling so they're distributed throughout, then pour everything over that cooled crust. Spread it evenly, then scatter the remaining half cup of peanut butter cups across the top like you're giving the bars their polished appearance.
- Bake to just-set:
- Bake for 25 to 28 minutes until the center is still slightly jiggly when you gently shake the pan—this is key, as overbaking creates a dense, grainy texture instead of that creamy dream. The edges will pull slightly away from the pan when they're ready.
- Cool and chill:
- Let the bars cool completely at room temperature (this prevents condensation from making them weepy), then refrigerate for at least 2 hours until they're firm enough to slice cleanly. A sharp knife dipped in hot water between cuts helps you get clean edges.
 Pin it
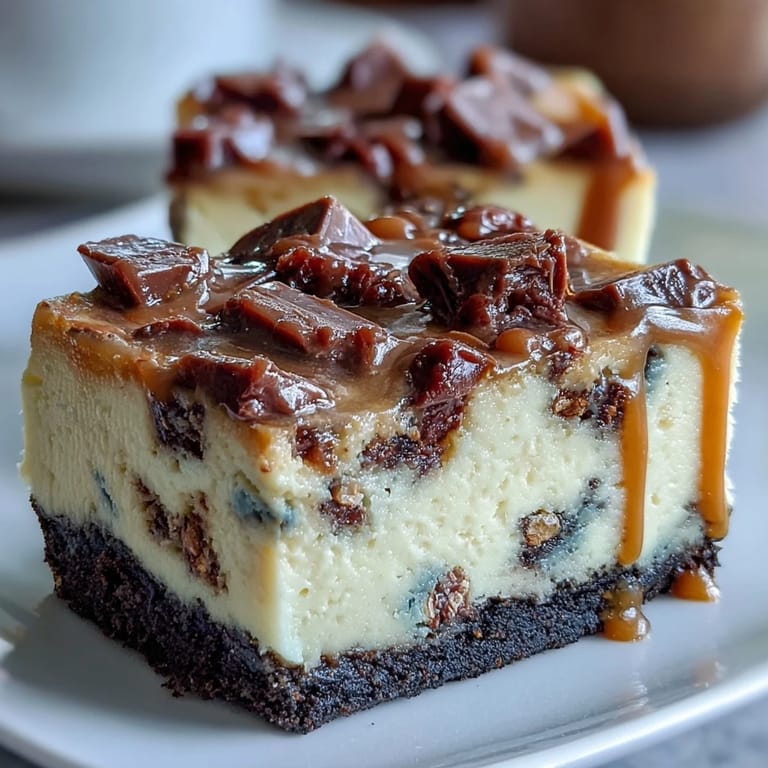
 There was a moment during my daughter's book club when the conversation shifted entirely. Everyone was talking about their week, their struggles, and then someone bit into one of these bars and just closed their eyes for a second. I realized then that desserts aren't really about nutrition or even taste—they're about those small moments where people pause and appreciate something together. That's what these bars do.
Storage and Make-Ahead Magic
These bars actually improve after a day or two in the refrigerator because the flavors meld and the texture becomes more uniformly creamy. I've found that keeping them in an airtight container with a piece of parchment between each layer prevents them from sticking together. They'll stay fresh for up to 5 days refrigerated, and you can even freeze them individually for up to 3 months—just thaw them in the fridge for a couple hours before serving.
Troubleshooting Common Issues
If your bars turn out too dense, it's usually because the filling was overbeaten or the oven temperature was off. If they're too soft and won't hold their shape, you either didn't chill them long enough or your cream cheese wasn't fully softened before mixing. The jiggly center is the sweet spot—it firms up as it cools and chills, so trust that slight wobble.
Serving Suggestions and Variations
Serve these straight from the fridge with cold milk or a light coffee that won't overpower the peanut butter and chocolate. You can drizzle them with melted peanut butter and top with chocolate chips as suggested, or keep them simple and let the layers speak for themselves. Some people add a thin layer of chocolate ganache on top, and others swap almond butter for the peanut butter if they're feeding guests with peanut allergies.
- For extra crunch, mix 1/4 cup of finely chopped roasted peanuts into your crust along with the crumbs and butter.
- Make a chocolate drizzle by melting chocolate chips with a teaspoon of coconut oil and letting it set slightly before drizzling over the cooled bars.
- Double the recipe and use a 9x13-inch pan if you're making these for a crowd—just add 5 to 8 minutes to the baking time.
 Pin it
 These peanut butter cup cheesecake bars have become my answer to the question everyone asks: what should I bring? They're impressive without being pretentious, rich without being overwhelming, and they bring people together in the best way. Make a batch this week and watch what happens.
Recipe FAQs
- → What type of cookies work best for the crust?
Chocolate sandwich cookies with the cream removed create a rich, crunchy base that complements the filling well.
- → Can I substitute almond butter for peanut butter?
Yes, almond butter can be used as a substitute, but ensure no nut allergies are present among consumers.
- → How long should the bars be chilled before serving?
Chill the bars for at least 2 hours to allow them to set properly and develop the ideal texture.
- → Is it possible to add more crunch to the crust?
Adding finely chopped roasted peanuts to the crust mix enhances the texture and adds a pleasant crunch.
- → What is the best way to serve these bars?
Serve chilled, optionally with a drizzle of melted peanut butter and a sprinkle of chocolate chips for added flavor.
- → Can the bars be stored, and for how long?
Store the bars in an airtight container in the refrigerator for up to 5 days to maintain freshness.