 Pin it
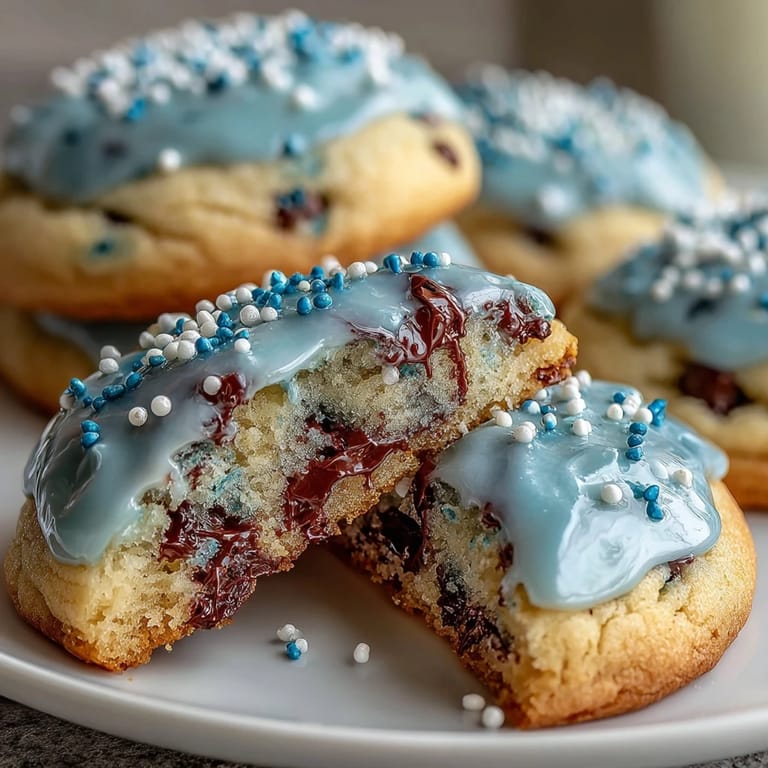
 There's something magical about baking cookies that actually look like they belong in a video game. My nephew was obsessed with Cookie Run Kingdom, and one afternoon he casually mentioned wishing he could eat Pure Vanilla Cookie in real life. That offhand comment stuck with me, and I found myself researching vanilla cookie recipes at midnight, imagining what colors and flavors would capture that character's essence. These sugar cookies with their glossy royal icing became my love letter to his favorite game, and the kitchen filled with an excitement that had nothing to do with the actual baking.
I'll never forget the moment my nephew bit into one of these cookies at his birthday party and his eyes went wide—not because of the taste, but because he recognized the colors I'd piped on top. His friends immediately asked for the recipe, and suddenly I was the cool aunt who made gaming-inspired desserts. That day taught me that baking is really just an excuse to make people feel seen.
Ingredients
- All-purpose flour: The foundation of a tender cookie; sifting it with baking powder and salt ensures even distribution so you don't end up with dense pockets.
- Unsalted butter: Room temperature is non-negotiable here because cold butter won't cream properly, and you need that fluffy base for light cookies.
- Granulated sugar: This dissolves quickly into the butter, creating the structure that holds these cookies together when they bake.
- Egg and milk: The egg binds everything while the milk adds subtle tenderness; together they're the secret to cookies that stay soft inside even after the icing sets.
- Pure vanilla extract: Don't skimp on quality here—it's literally the only flavor, so it deserves to taste genuine.
- Powdered sugar and meringue powder: Meringue powder stabilizes the icing so it dries hard and glossy without needing raw eggs, which was a game-changer once I discovered it.
- Gel food coloring: Unlike liquid food coloring, gel won't thin out your icing, so you get vibrant blues and yellows that actually pop on the cookies.
Tired of Takeout? 🥡
Get 10 meals you can make faster than delivery arrives. Seriously.
One email. No spam. Unsubscribe anytime.
Instructions
- Build your dry base:
- Whisk flour, baking powder, and salt in a medium bowl and set it aside—this step prevents lumps from hiding in your dough later.
- Cream butter and sugar:
- Beat softened butter with sugar for 2 to 3 minutes until it's pale and fluffy; this is where air gets incorporated, making your cookies tender instead of dense.
- Bring the wet ingredients together:
- Add the egg, vanilla, and milk to your fluffy butter mixture and beat until smooth. The milk creates a slightly looser dough that rolls out beautifully.
- Marry wet and dry:
- Gradually add your flour mixture to the wet ingredients, mixing gently just until the dough comes together—overworking develops gluten and makes cookies tough.
- Chill the dough:
- Divide dough into two disks, wrap them, and refrigerate for at least 1 hour so the gluten relaxes and the butter stays firm for rolling. I've learned this patience pays off in neater, less-sticky dough.
- Shape and prepare for baking:
- Preheat your oven to 350°F, roll dough to 1/4-inch thickness on a lightly floured surface, and cut shapes with cookie cutters. Space them 1 inch apart on parchment-lined baking sheets because they spread just slightly as they bake.
- Bake with intention:
- Bake for 10 to 12 minutes—the edges should just barely turn golden while the centers stay pale. I pull mine out right when I smell that toasted vanilla aroma, before they look fully done. Let them cool on the baking sheet for 5 minutes so they set, then transfer to a wire rack to cool completely before icing.
- Make the royal icing:
- Combine sifted powdered sugar, meringue powder, vanilla, and 4 tablespoons of warm water in a large bowl. Beat on low speed with an electric mixer until smooth and glossy, adding water 1 teaspoon at a time until you reach piping consistency—it should be thick enough to hold peaks but fluid enough to move through a piping bag.
- Decorate with confidence:
- Divide icing among bowls and tint with gel food coloring, then pipe or squeeze onto completely cooled cookies using piping bags or squeeze bottles. Allow the icing to set hard at room temperature for several hours or overnight before stacking or gifting.
 Pin it
 There was one afternoon when my hands cramped from piping intricate details onto dozens of cookies, and I realized I wasn't actually tired—I was genuinely happy doing something tedious. That's when baking stopped feeling like a chore and started feeling like meditation, especially when the final result made someone smile.
The Magic of Timing
I used to pull cookies out of the oven the moment they looked done, which meant they were often underbaked. Now I trust the smell as much as the visual—that moment when vanilla hits the back of your nose is usually when they're perfectly set. The difference between a cookie that's airy and one that's gummy comes down to those final 30 seconds in the oven.
Royal Icing Secrets
Consistency is everything with royal icing, and I learned this through trial and error. Too thick and you can't pipe it; too thin and it spreads like frosting instead of setting hard. The warm water matters more than you'd think—cold water takes forever to dissolve the powdered sugar, but overly hot water can separate the mixture.
Storage and Longevity
These cookies are surprisingly durable once the icing sets completely, which is why they've become my go-to gift option. I've shipped decorated cookies across the country, and as long as they're packed carefully in an airtight container with parchment between layers, they arrive in perfect condition.
- Store cooled, decorated cookies in an airtight container at room temperature for up to a week, and they'll stay crispy and fresh.
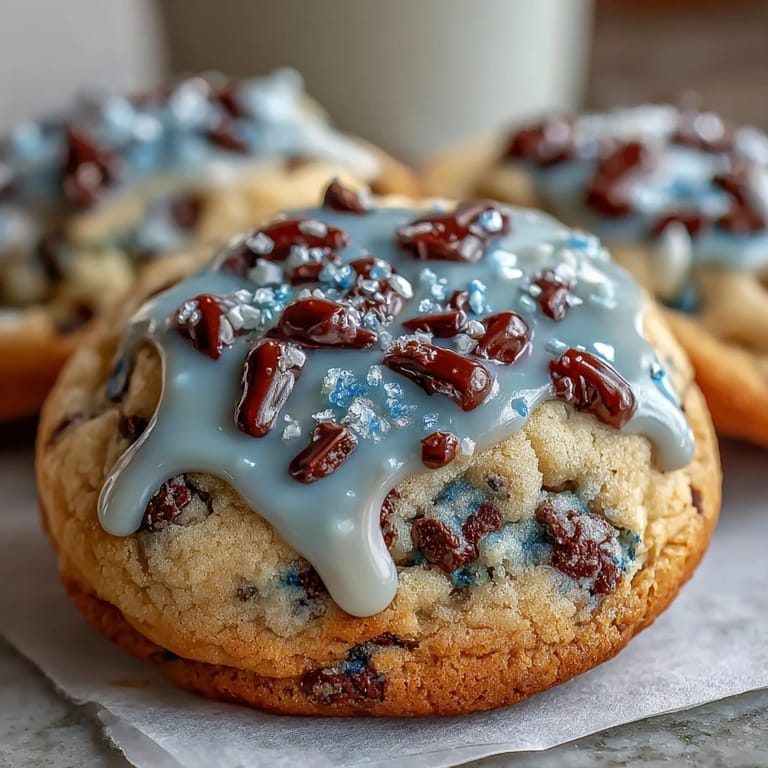
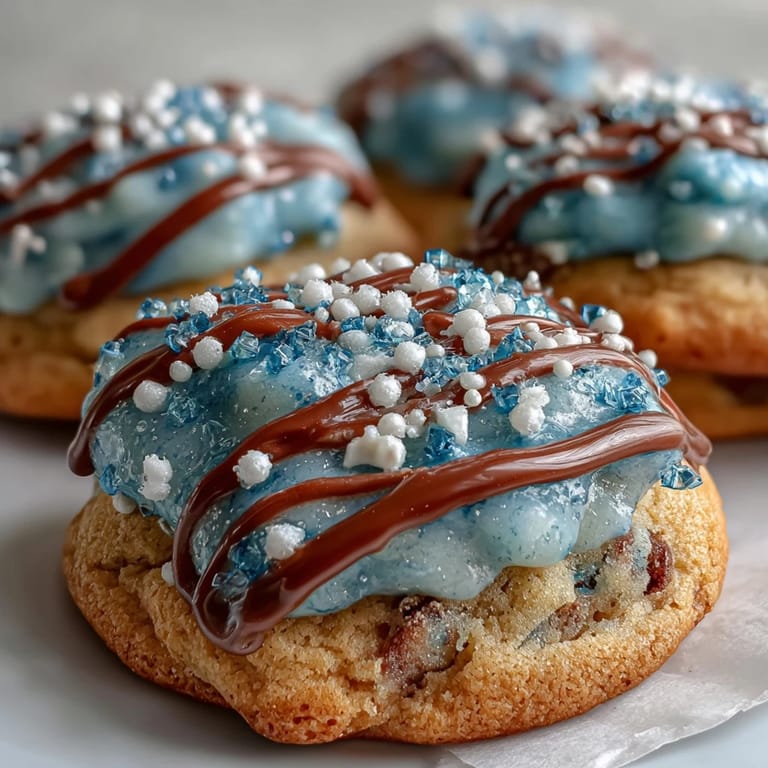
- For the Pure Vanilla Cookie theme, stick to blue, white, and gold or yellow icing to capture that elegant, otherworldly vibe.
- If you're decorating for a specific occasion, prep your icing colors the night before so you're not scrambling while your cookies cool.
 Pin it
 Baking these cookies became a ritual I return to whenever someone needs a little magic on a plate. There's something deeply satisfying about transforming imagination into something edible.
Recipe FAQs
- → How do I achieve a glossy royal icing finish?
Beat powdered sugar, meringue powder, vanilla, and water until smooth and shiny. Adjust water for perfect consistency and apply to cooled cookies.
- → Why should the dough be chilled before baking?
Chilling firms the dough, preventing spreading during baking and enhancing the cookie's texture.
- → What thickness is recommended for rolling the dough?
Roll dough to about 1/4-inch thickness for even baking and easy cutting into shapes.
- → Can I customize the icing colors?
Yes, use gel food coloring to create festive hues like blue, white, and gold to match themes or occasions.
- → How should decorated cookies be stored?
Keep cookies in an airtight container at room temperature to retain freshness for up to a week.