 Pin it
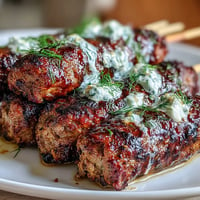
 The first time I made mici, I was standing in a crowded Bucharest market on a warm September afternoon, watching a vendor work with practiced hands that barely paused between rolling and grilling. He caught me staring and grinned, handing me one fresh off the charcoal with mustard already smeared on the paper. That crispy, snapping exterior gave way to the most impossibly juicy center I'd ever bitten into, and I knew right then I had to figure out how he did it. Years later, after plenty of failed attempts and a few smoking kitchen disasters, I finally cracked the code—it's all about cold stock, the right spice blend, and knowing exactly when to stop fiddling with them.
I remember making these for a small dinner party on a random Tuesday, and my neighbor leaned over the fence asking what that incredible smell was. By the time the first batch came off the grill, he'd invited himself over and was helping me roll the second batch with surprisingly steady hands for someone who swore he wasn't a cook. We ended up eating them straight off the grill with cold beer and fresh bread, standing in the backyard until the sun went down, talking about nothing important.
Ingredients
- Ground beef (500 g, 80/20 ratio): The backbone of the mici—that 20% fat is what keeps them from drying out, so don't skimp or go leaner.
- Ground pork (300 g): Adds subtle sweetness and helps with binding; it's the secret to that tender, yielding texture.
- Ground lamb (200 g, optional): If you can find it, this traditional addition brings a depth that makes people ask what your secret ingredient is.
- Garlic (5 cloves, minced): Finely mince it yourself rather than using jarred—it makes a noticeable difference in how the flavor blooms.
- Smoked paprika (1½ tsp): This is non-negotiable; it's the flavor signature that makes people recognize it as Romanian.
- Black pepper, coriander, cumin (1½ tsp each): This trio creates that warm, slightly smoky spice profile that lingers beautifully.
- Dried thyme (1 tsp): A subtle herbaceous note that ties everything together without overpowering.
- Baking soda (1 tsp): This is the trick most people don't know about—it creates a tender crumb structure and helps them brown better.
- Salt (2 tsp): Essential for drawing out the meat's juices and helping with binding; don't reduce this.
- Cold beef stock or sparkling water (200 ml): Cold liquid is crucial—it keeps the mixture workable and creates that juicy interior when grilled.
- Vegetable oil (1 tbsp): Just enough for your hands during shaping and for coating the grill grates.
Tired of Takeout? 🥡
Get 10 meals you can make faster than delivery arrives. Seriously.
One email. No spam. Unsubscribe anytime.
Instructions
- Combine the meats:
- Dump all three ground meats into a large bowl and mix with your hands until there are no visible streaks of different meat. This even distribution is what creates consistent flavor in every bite.
- Add the aromatics and spices:
- Scatter all the garlic, paprika, pepper, coriander, cumin, thyme, baking soda, and salt over the meat. Mix thoroughly until everything is evenly coated and the mixture smells unmistakably fragrant.
- Knead in the cold liquid:
- Gradually pour in the cold stock while kneading the mixture with your hands for about 5 minutes—this is not a passive step, it's where the magic happens. The mixture should go from crumbly to sticky and cohesive, and your hands will start to feel the texture firm up as the proteins bind.
- Chill the mixture:
- Cover the bowl and refrigerate for at least 2 hours, ideally overnight. This rest period lets the flavors meld and makes the mixture much easier to shape without falling apart.
- Shape into cylinders:
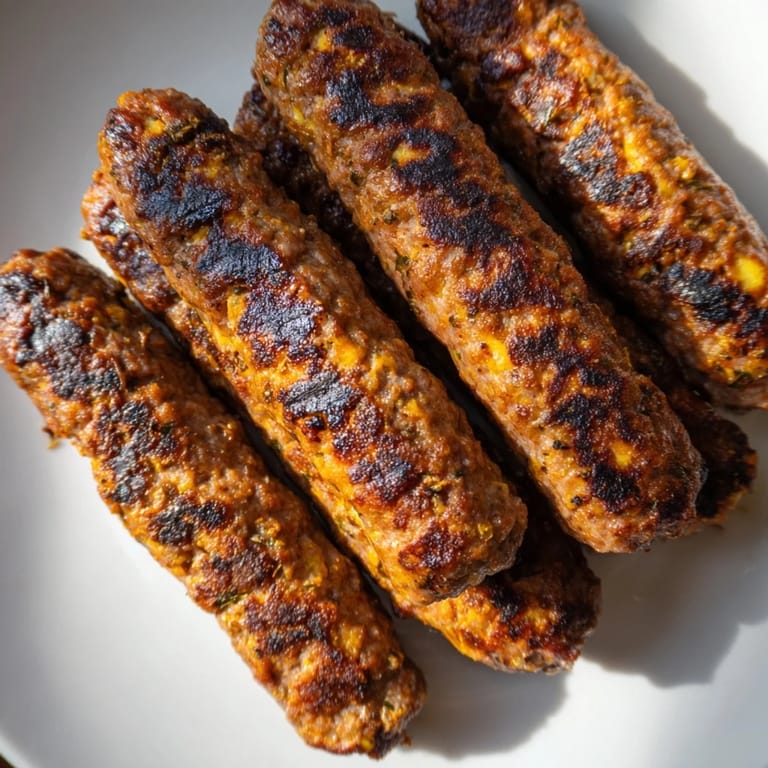
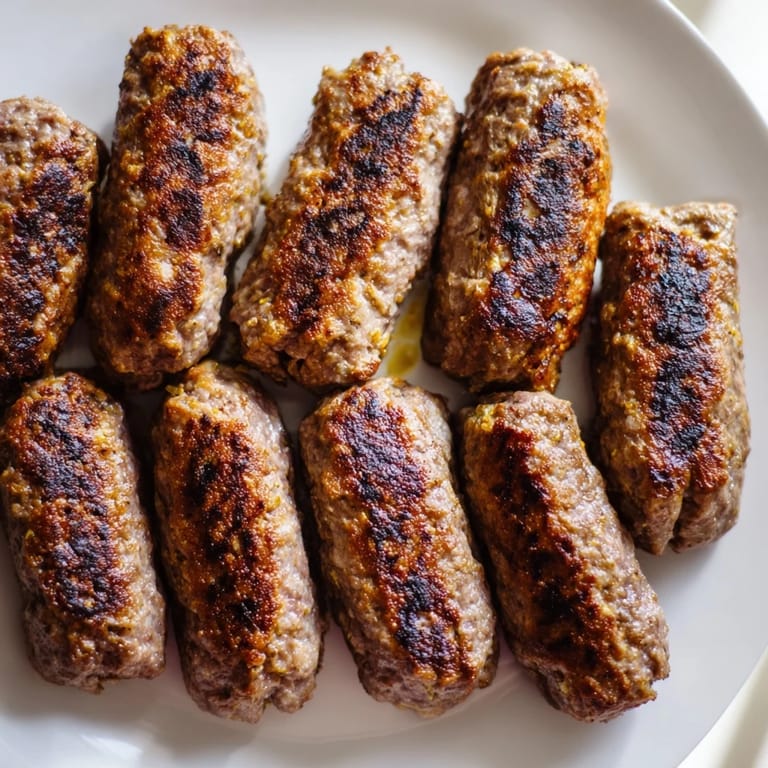
- Lightly oil your hands and pinch off pieces roughly the size of a walnut, rolling each one between your palms into a finger-sized cylinder about 8–10 cm long and 2 cm thick. If the mixture feels too sticky, chill it a bit more.
- Heat your grill:
- Get your grill or grill pan screaming hot at medium-high heat, then lightly oil the grates so nothing sticks.
- Grill until crispy:
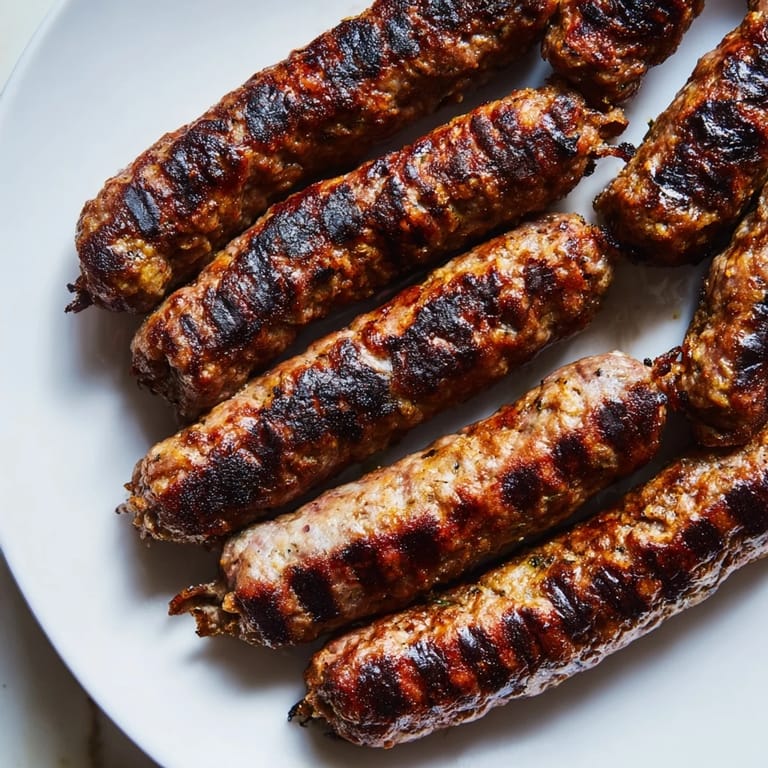
- Place the mici on the grill and resist the urge to move them for 3–4 minutes—let them develop that crucial crust. Turn once and grill the other side for another 3–4 minutes until they're browned all over and cooked through, with a firm feel when you press them gently.
- Serve immediately:
- Transfer them to a warm plate and serve right away with mustard and fresh bread while they're still warm and the outside is at its crispiest.
 Pin it
 There was an evening when my mother-in-law tried these for the first time and got quiet for a moment, then looked at me and smiled in a way that said something important had just happened. She didn't need to tell me they reminded her of home—I could see it in how she held the piece of bread, how she savored each bite slowly. Food has a way of crossing distance and time like that, and these little cylinders became the bridge.
The Grilling Technique That Changes Everything
Getting the grill temperature right is where most people stumble, but it's not complicated once you understand what you're aiming for. You want medium-high heat—hot enough that a drop of water sizzles immediately, but not so ferocious that the outside chars before the inside cooks through. The key is patience; don't move them around constantly or you'll never build that crucial crust. I learned this the hard way by standing there flipping them every thirty seconds like I was worried they'd burn, when really they just needed to sit still and do their thing. Those 3–4 minutes per side feel longer than they actually are, but that's when the real magic happens.
Why Cold Stock and Sparkling Water Make a Difference
The liquid you choose shapes the final texture more than you'd think, and temperature matters just as much as the ingredient itself. Cold stock or sparkling water keeps the mixture at a workable temperature during kneading, and that matters for how the proteins bind and hold onto moisture during grilling. Some people swear by mixing half beef stock and half sparkling water for extra juiciness, and honestly, they're onto something—the carbonation creates tiny pockets that help keep the interior tender. I've experimented with warm stock out of convenience, and the mici come out denser and less forgiving, so it's worth the small effort to let your liquid get cold first.
Serving and Pairing
These are best served immediately while the outside is still crackling, paired with sharp mustard and warm bread to catch the juices. I've found that a cold lager or crisp Romanian white wine makes the whole experience feel special, even on a casual weeknight. The bread is non-negotiable—it's not just a vehicle, it's your way of making sure not a drop of those beautiful juices goes to waste.
- Serve them on a warm plate so they stay hot while you eat, and the exterior stays at peak crispiness.
- Don't refrigerate leftovers; they're best eaten fresh, but you can gently reheat them on a grill pan if you must.
- Make a double batch and freeze the shaped cylinders before grilling—they go straight from freezer to hot grill with just a minute or two extra cooking time.
 Pin it
 These mici have become the thing I make when I want to feel connected to somewhere I've been or to people I care about, and they never fail to deliver that moment of quiet satisfaction when everyone stops talking and just eats. There's something honest about grilled meat, fresh bread, and good mustard—no pretense, just pure comfort.
Recipe FAQs
- → What meats are used in Romanian mici?
A combination of ground beef, pork, and traditionally lamb is used to create a rich and flavorful blend.
- → How do you achieve the traditional spiced flavor?
Garlic, smoked paprika, black pepper, coriander, cumin, thyme, and salt are finely mixed into the meats to create the distinctive seasoning.
- → Why is sparkling water or beef stock added to the mixture?
Adding cold liquid helps bind the meats and spices while keeping the rolls juicy and tender after grilling.
- → What is the best way to cook mici for ideal texture?
Grilling over medium-high heat crisp the exterior while maintaining a moist, tender interior.
- → Can mici be prepared ahead of time?
Yes, chilling the shaped rolls for several hours or overnight allows the flavors to meld deeply before cooking.