 Pin it
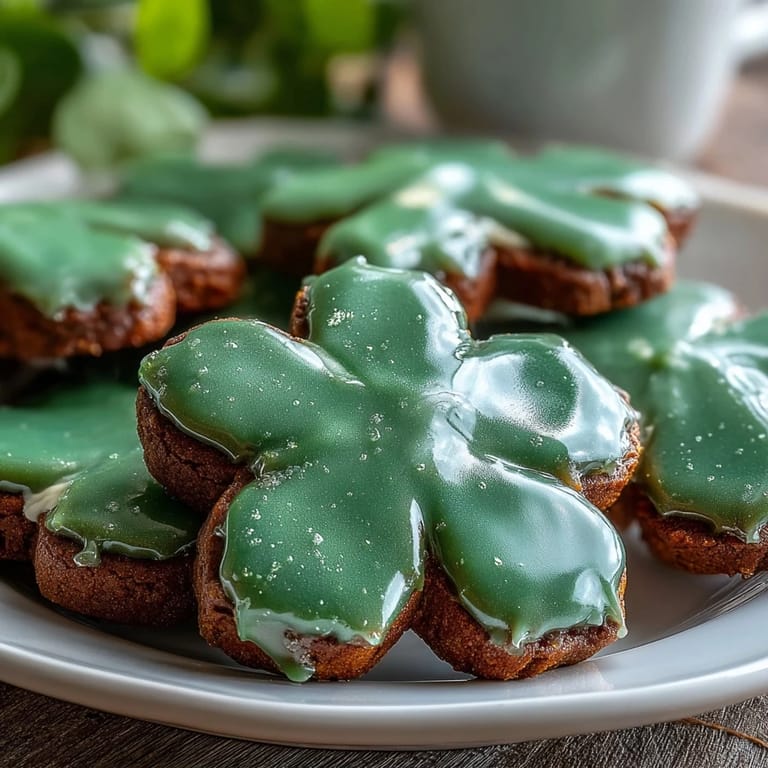
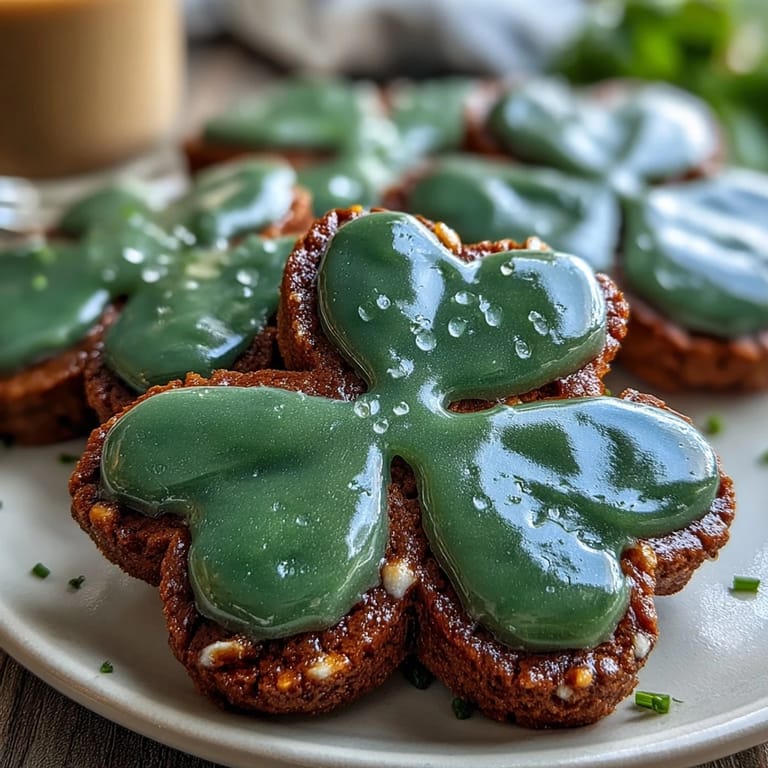
 My sister called me three days before St. Patrick's Day in a mild panic—she'd promised her daughter's school bake sale something green and festive, and suddenly realized she had nothing planned. I found myself at my kitchen counter that evening, butter softening on the counter, thinking about how sugar cookies feel like edible nostalgia. These shamrock cookies with their bright green icing became our answer, and watching my nephew's face light up when he bit into one made the whole afternoon of piping worth it.
I spent an entire afternoon decorating dozens of these with my hands cramping from the piping bag, but there was something meditative about it. Each cookie got its own tiny shamrock outline, and by the hundredth one, I'd figured out the exact pressure needed to make the icing flow smoothly. That's when cooking stopped feeling like a task and became something I actually looked forward to doing again.
Ingredients
- All-purpose flour: The foundation of these cookies—make sure it's fresh and not compacted, as old flour can make them tough rather than tender.
- Baking powder: Just enough to give them a gentle lift without making them cake-like or puffy.
- Salt: A small amount that you won't taste but will make the buttery flavor pop forward.
- Unsalted butter: Room temperature is non-negotiable here; cold butter won't cream properly and you'll end up with dense dough.
- Granulated sugar: The sweetness and structure, and beating it with butter creates the perfect light crumb.
- Egg: Binds everything together and adds richness without making the dough wet or greasy.
- Vanilla and almond extracts: Vanilla is essential, but that half teaspoon of almond extract adds a subtle depth that makes people pause mid-bite.
- Powdered sugar: Must be sifted or you'll have tiny lumps in your icing that catch on the piping bag.
- Meringue powder: The secret to royal icing that dries hard and glossy—don't skip it thinking egg whites are the same, they're not.
- Green gel food coloring: Gel holds its color better than liquid; a tiny bit goes a long way.
Tired of Takeout? 🥡
Get 10 meals you can make faster than delivery arrives. Seriously.
One email. No spam. Unsubscribe anytime.
Instructions
- Mix your dry ingredients first:
- Whisk flour, baking powder, and salt together in a bowl and set aside—this ensures the leavening is evenly distributed throughout the dough. It's a small step that prevents dense pockets later.
- Cream butter and sugar until it's cloud-like:
- This takes about two minutes with a mixer and should look noticeably lighter and fluffier, almost mousse-like. You're aerating the dough here, which creates tender cookies.
- Add egg and extracts:
- Beat until the mixture is pale and combined, then gradually fold in your dry ingredients slowly so you don't overwork the gluten. Stop mixing as soon as everything just comes together.
- Chill the dough properly:
- Divide into two discs, wrap tightly, and refrigerate for at least an hour—this prevents spreading and helps the shamrock shapes hold their definition. I learned this the hard way with a batch that turned into shamrock pancakes.
- Roll and cut with confidence:
- Work on a lightly floured surface and roll to exactly 1/4-inch thickness; use a shamrock cutter that's sharp and press straight down without twisting. Twisting seals the edges and prevents clean shapes.
- Bake with one eye open:
- At 350°F, they need 8 to 10 minutes—watch for the edges to just barely golden, not the entire cookie. They'll continue cooking slightly on the hot pan, so remove them when they still look slightly underdone in the very center.
- Cool strategically:
- Leave them on the baking sheet for five minutes so they set, then move to a wire rack to cool completely. This prevents them from breaking but also stops residual heat from making them too soft.
- Create your icing masterpiece:
- Sift powdered sugar and meringue powder together, then add water and vanilla and beat on low speed until it's smooth and glossy—this should take five to seven minutes and you'll see the texture change. Add green gel coloring drop by drop until you reach the shade you want; it deepens slightly as it sets.
- Decorate with patience:
- Transfer icing to a piping bag with a small round tip and outline each shamrock first with thin lines, then flood the interior with a slightly thinner consistency icing. Let it set for at least an hour before stacking or packaging.
 Pin it
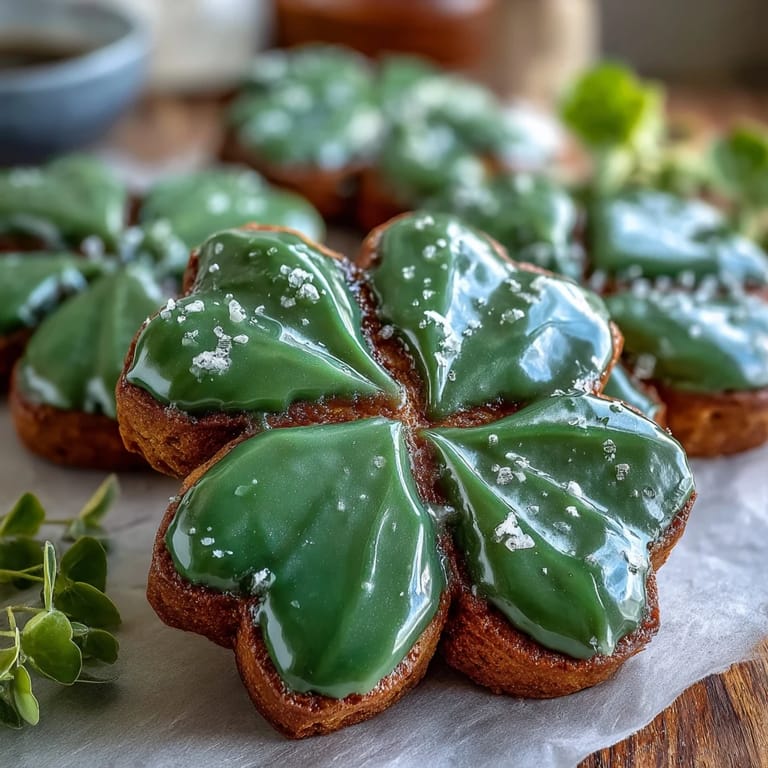
 There's a quiet moment when you pull a batch of perfectly decorated cookies from the cooling rack and hold one up to the light, seeing the green icing catch the glow. That's when you know you've made something worth the effort—not just food, but a small piece of celebration that someone will remember.
Why These Cookies Feel Special
Sugar cookies are nostalgic for almost everyone, but adding that vibrant green icing and shamrock shape transforms them into something seasonal and intentional. They're not trying too hard, but they're clearly made with thought—that balance is what makes people feel genuinely delighted to receive them. The buttery base lets the subtle almond extract whisper through, making them taste sophisticated despite being simple.
Storage and Make-Ahead Magic
These cookies actually improve slightly after a day or two in an airtight container, as the flavors settle and mellow into something rounder and more complex. You can make the dough a full day ahead and refrigerate it, or bake the cookies a few days before decorating—this flexibility is what makes them perfect for busy holiday seasons. The icing sets hard, so stacking them is perfectly fine as long as you're gentle.
Customizing Your Creation
While the recipe is beautiful as written, the real joy comes from making it your own in small ways that feel meaningful. Some years I skip the almond extract entirely and add a touch of lemon zest instead; other times I dust wet icing with edible gold glitter for extra glamour. The base recipe is stable enough to handle these little adventures without falling apart.
- For softer cookies, reduce baking time by one minute and they'll stay chewy for days.
- Edible glitter or sprinkles on wet icing add visual dimension that catches light beautifully.
- If you want to pipe more intricate designs, thicken your icing slightly and work with a finer piping tip.
 Pin it
 Making these shamrock cookies becomes a small tradition when you do it once, something you return to because it works and feels good. They're proof that putting a little extra thought into something—even something as simple as decorated cookies—creates genuine moments of joy.
Recipe FAQs
- → How do I achieve the vibrant green color in icing?
Use gel food coloring gradually mixed into the royal icing until the desired bright shade is reached.
- → Can I prepare the dough in advance?
Yes, chilling the dough for at least one hour helps with rolling and shaping, but it can be refrigerated overnight for convenience.
- → What is the best way to pipe the royal icing?
Use a small round piping tip and steady pressure to outline and flood the cookie surfaces smoothly.
- → How long should the icing set before serving?
Allow the icing to dry undisturbed for at least one hour to achieve a firm, glossy finish.
- → Can almond extract be omitted?
Yes, almond extract is optional and can be left out to suit different taste preferences or allergies.
- → How can I keep the cookies soft?
Reducing the baking time slightly and storing cookies in an airtight container helps maintain softness.