 Pin it
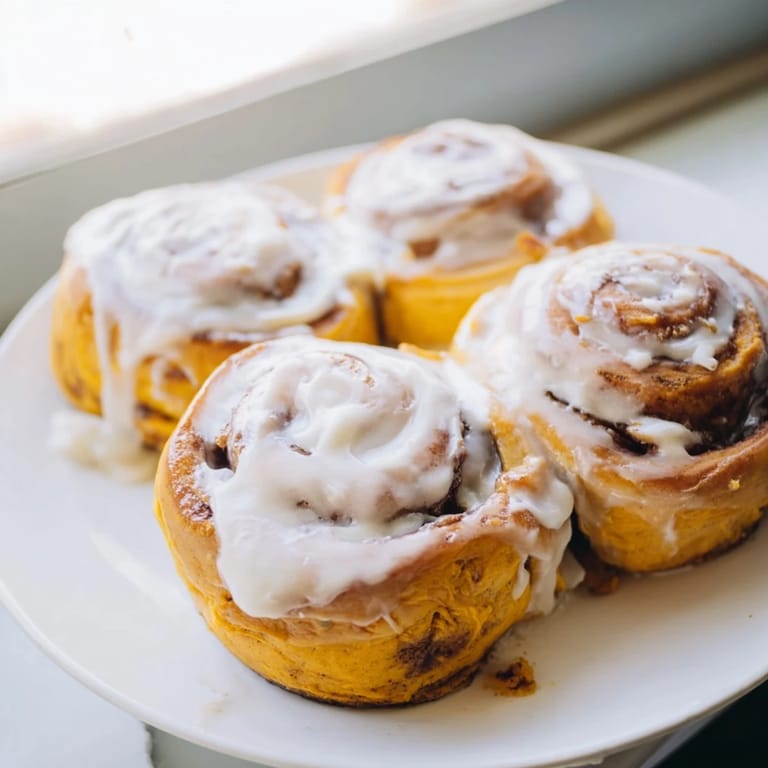
 There's something about the smell of pumpkin and cinnamon rolling through your kitchen in October that makes you feel like you've got your life together, even if you're still in your pajamas at noon. I stumbled onto this recipe during a particularly chaotic morning when I'd overcommitted to bringing breakfast to a friend's gathering, and somehow these rolls became the thing everyone asked about for weeks afterward. The dough is forgiving enough that even when I forgot to let it rise the full hour, it still turned out pillowy and soft, which taught me that baking doesn't always require perfection to be delicious. There's real magic in how the pumpkin purée creates this tender crumb while the cinnamon sugar filling reminds you why autumn deserves its own season of baked goods.
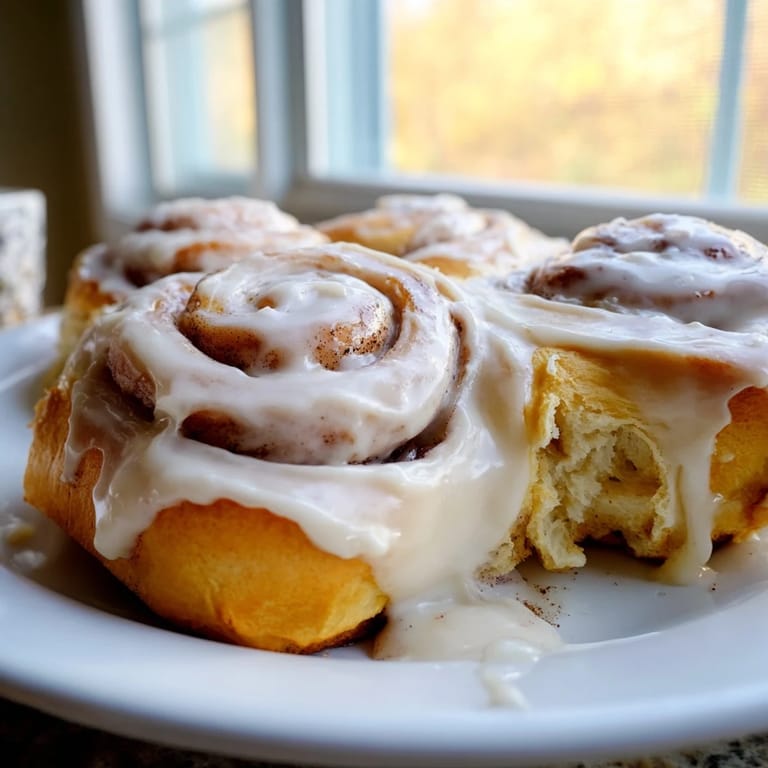
I'll never forget watching my partner's face light up when they bit into one of these still-warm from the oven, the frosting just starting to melt into the crevices of the cinnamon swirl. That moment made the two-hour time commitment feel completely worth it, especially since they immediately started planning when we could make them again. It was one of those small kitchen victories that reminds you why you bother with yeasted doughs in the first place.
Ingredients
- All-purpose flour (3 ½ cups): This is your foundation, and measuring by weight makes a real difference if you have a scale—the dough should come together soft but not sticky, so don't be afraid to add a touch more if needed.
- Active dry yeast (1 packet): Make sure it's fresh and that your milk is genuinely lukewarm, not hot, or you'll kill the yeast before it can do its job.
- Granulated sugar (⅓ cup): This feeds the yeast and sweetens the dough itself, creating that subtle richness underneath the filling.
- Whole milk (½ cup, lukewarm): The warmth activates the yeast, and whole milk creates a tender crumb you won't get from skim.
- Canned pumpkin purée (¾ cup): This is your secret weapon for keeping the dough moist and giving it that autumn flavor without any added bitterness.
- Unsalted butter (¼ cup melted, plus ¼ cup softened): Melted butter goes in the dough for tenderness, and softened butter is for the filling where you need it to spread evenly.
- Large egg (1, room temperature): Room temperature means it incorporates smoothly and creates a better texture throughout the dough.
- Vanilla extract (1 tsp): A small amount that deepens the flavor without announcing itself.
- Salt (½ tsp): This is non-negotiable because it balances the sweetness and strengthens the gluten structure.
- Ground cinnamon and nutmeg (1 tsp and ½ tsp): These spices go into the dough itself, layering flavor so it's not just on the outside.
- Brown sugar (⅔ cup packed): Packed brown sugar means you're measuring the moisture content too, which matters for the filling consistency.
- Ground cinnamon for filling (2 tbsp): This is where the cinnamon star really shines, so don't hold back.
- Cream cheese (4 oz, softened): Cold cream cheese won't blend smoothly, so let it sit on the counter while your rolls bake.
- Powdered sugar (1 cup, sifted): Sifting removes lumps and gives you a frosting that's silky instead of gritty.
Tired of Takeout? 🥡
Get 10 meals you can make faster than delivery arrives. Seriously.
One email. No spam. Unsubscribe anytime.
Instructions
- Wake up the yeast:
- Pour your lukewarm milk into a large bowl and sprinkle the yeast over top, then let it sit for five minutes until it looks foamy and alive. If it doesn't foam, your yeast is dead and you'll need to start over, which I learned the hard way on a Sunday morning.
- Build the wet base:
- Stir in the sugar, pumpkin purée, melted butter, egg, and vanilla until everything is smooth and orange-hued. Take a moment to smell this mixture because it already smells like October should feel.
- Bring the dough together:
- Gradually add your flour along with the salt, cinnamon, and nutmeg, stirring as you go, then knead for six to eight minutes until the dough is soft and elastic and springs back when you poke it. If it's sticking to your hands, dust with a bit more flour, but don't add too much or you'll end up with a dense roll.
- Let it rise:
- Place the dough in a greased bowl, cover it with a damp towel or plastic wrap, and set it somewhere warm—a turned-off oven with the light on works beautifully. You're waiting for it to roughly double in size, which typically takes about an hour depending on how warm your kitchen actually is.
- Shape the rolls:
- Punch down your risen dough and roll it out on a floured surface to a 16-by-12-inch rectangle, which should feel satisfying and meditative. Spread your softened butter evenly across, leaving a half-inch border, then mix your brown sugar and cinnamon in a small bowl and sprinkle it generously over everything.
- Roll and slice:
- Starting from the long side, roll the dough up tightly as if you're making a log, then slice it into twelve even pieces using a sharp knife or dental floss—floss actually works better because it doesn't drag the filling around. Arrange these rolls in your greased baking dish in rows because seeing them all lined up makes you feel like a professional baker.
- Second rise:
- Cover the rolls and let them puff up for thirty to forty minutes until they look puffy and are starting to touch each other slightly. This is when your kitchen will smell absolutely incredible and you'll probably be tempted to eat one raw.
- Bake until golden:
- Preheat to 350°F and bake for twenty-two to twenty-five minutes, watching until they're golden brown on top and a toothpick inserted into the center comes out clean. You'll know they're done when they look set but still have just a hint of give.
- Make the frosting:
- While the rolls are baking, beat your softened cream cheese and butter together until smooth, then add your sifted powdered sugar, vanilla, and a tiny pinch of salt, beating until it's creamy and spreadable. Taste it because this is the moment to adjust sweetness if you like.
- Frost and serve:
- Spread the frosting over the warm rolls immediately so it melts slightly into all the crevices, and then try not to eat more than one while they're still hot from the oven. I say try because it's nearly impossible to resist.
 Pin it
 There was an evening last November when I made these rolls for my family, and my normally reserved grandmother asked for the recipe before she'd even finished her first one. That simple request made me realize that the best recipes are the ones that feel special enough to share, and these rolls definitely qualify.
Timing Your Kitchen
The beauty of this recipe is that you can split it across two days if you're not a morning person or if you're trying to manage your time. Mix and knead your dough in the afternoon, do the first rise, then refrigerate the shaped rolls overnight and bake them in the morning while your coffee brews. I've done this dozens of times now, and the cold rise actually seems to deepen the pumpkin flavor, which feels like a bonus even though it was originally just a convenience hack.
The Frosting Decision
Some people are frosting minimalists and some people think frosting should be thick enough to spoon onto your roll, and I'm not here to judge either camp. What I will say is that spreading it on warm rolls versus cooled rolls changes the entire experience—warm rolls let the frosting melt into the crevices, while cooled rolls keep it more defined on top. I prefer the melted version because it feels more indulgent, but I've served both ways and people were happy either way.
Make Them Your Own
These rolls are genuinely forgiving and invite customization without losing their essential character. I've added chopped pecans to the filling, swapped pumpkin pie spice for the individual cinnamon and nutmeg, and even drizzled them with maple glaze instead of cream cheese frosting when I had that on hand. The foundation is solid enough that your experiments will probably taste wonderful, which is maybe the best compliment you can give a recipe.
- Pecans or walnuts in the filling add texture and a toasted richness that plays beautifully against the cream cheese frosting.
- A splash of bourbon or dark rum in the frosting creates a sophisticated grown-up version that's perfect for brunches.
- If you're not a cream cheese person, you can brush these with a simple glaze made from powdered sugar and milk instead, though you'll lose that tangy complexity.
 Pin it
 Making these rolls has become my seasonal ritual, something I look forward to the moment the leaves start turning and the air gets crisp. There's something wonderfully grounding about working with yeast and watching dough rise and transform into something warm and comforting to share.
Recipe FAQs
- → Can I prepare these rolls the night before?
Yes, you can prepare the rolls through step 8, then cover and refrigerate overnight. Bake in the morning, adding 5-10 extra minutes to baking time if baking from cold.
- → What's the best way to slice the rolls evenly?
Mark the dough into 12 equal sections with a knife before cutting. Alternatively, use unflavored dental floss—slide it under the dough roll and cross the ends to slice cleanly without compressing the dough.
- → How do I know when the dough has risen properly?
The dough should roughly double in size and spring back slowly when poked gently. For the second rise, rolls should look puffy and increase noticeably in the baking dish.
- → Can I use fresh pumpkin instead of canned?
Yes, but roasted fresh pumpkin must be strained well to remove excess moisture. Use ¾ cup of strained purée. Canned pumpkin is more convenient and yields consistent results.
- → How should I store leftover rolls?
Cover cooled rolls with plastic wrap or store in an airtight container at room temperature for up to 2 days. Refrigerate for up to 5 days. Reheat gently in the oven at 300°F for 10 minutes.
- → What spices can I add to enhance the flavor?
Consider adding chopped pecans or walnuts to the filling, or substitute pumpkin pie spice blend for individual cinnamon and nutmeg. A pinch of ginger or cloves adds extra warmth.