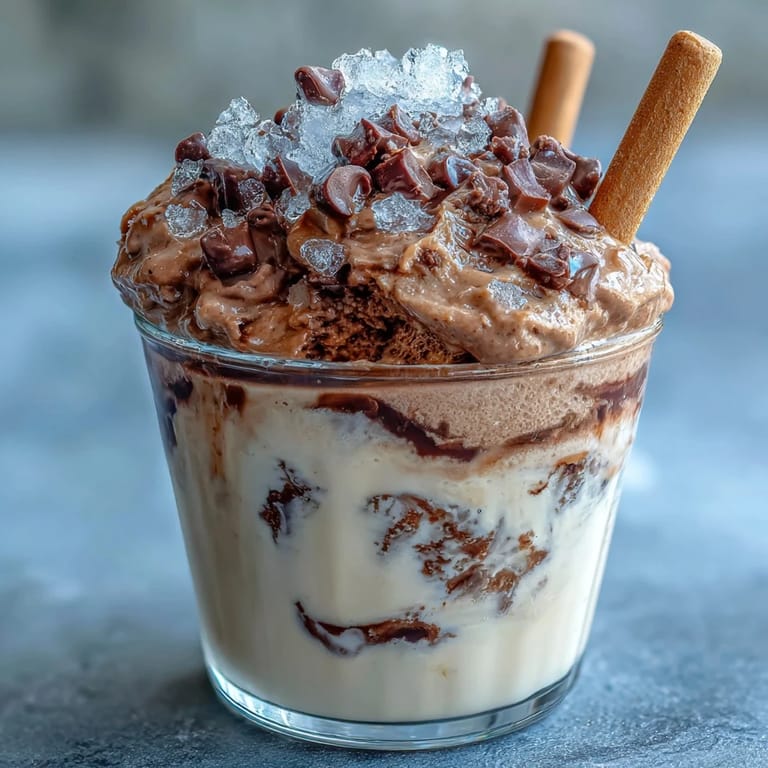
 Pin it
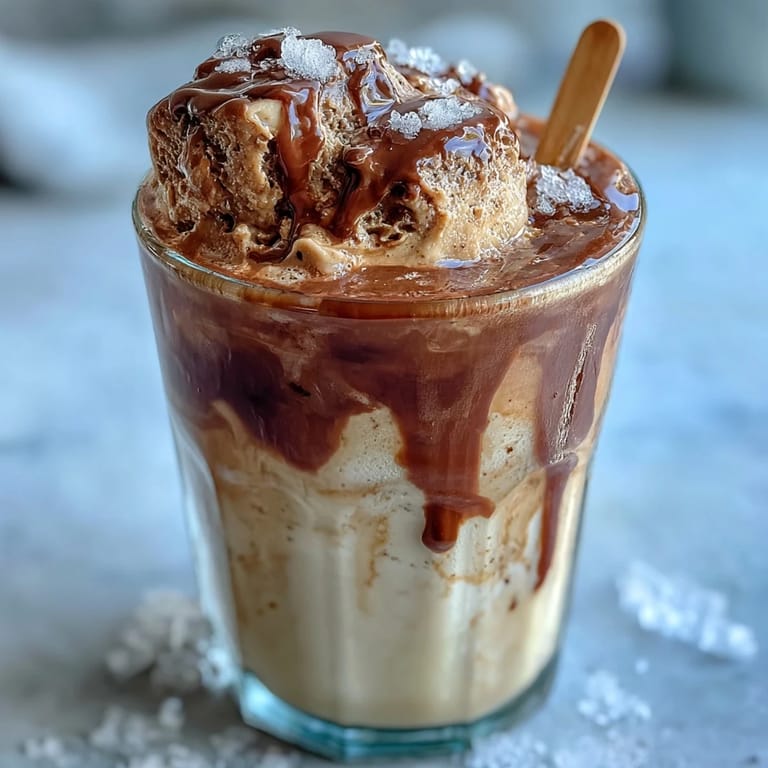
 My friend texted me on a brutally hot July afternoon asking if I wanted to come over, and when I arrived, her kitchen smelled like freshly pulled espresso shots cooling on the counter. She'd been experimenting with turning her favorite coffee shop order into something frozen, and within minutes we were whisking together milk and cream like we were crafting some kind of edible magic. The moment we poured that silky vanilla mixture over the chocolate fudge layer, I knew this was going to become my go-to summer project. What started as an afternoon experiment turned into something I now make whenever I need to impress people or quiet my own cravings on hot days.
I made these for a neighborhood gathering last summer, and watching people's faces light up when they bit into that fudge layer was absolutely worth the four hours of patience. My neighbor who claims she doesn't like coffee ice cream took one bite and asked for the recipe before she'd even finished the first pop. It's one of those rare desserts where everyone asks for seconds, and honestly, the only regret people have is not making a bigger batch.
Ingredients
- Whole milk: This is your base, and using whole milk matters because it creates that creamy texture that makes these pops feel luxurious rather than icy.
- Heavy cream: You'll use this twice—once in the frappuccino mixture and again for melting with the chocolate—and it's what transforms these from ordinary pops into silky, melt-on-your-tongue treats.
- Sweetened condensed milk: This might seem like an odd addition, but it adds richness and helps prevent the mixture from freezing too solid, keeping the texture smooth.
- Strong brewed espresso or coffee, cooled: The cooling part is non-negotiable because hot liquid will mess with your freezing time, so brew it ahead and let it sit while you gather your other ingredients.
- Vanilla bean, split and seeds scraped: If you can find a real vanilla bean, use it because those tiny black specks look beautiful and taste infinitely better than extract, though pure vanilla extract works perfectly fine too.
- Semisweet chocolate chips: Quality matters here since chocolate is a starring ingredient, so grab a brand you actually enjoy eating on its own.
- Granulated sugar: Adjust this to your taste preference, especially if your coffee is already strong or sweet.
Tired of Takeout? 🥡
Get 10 meals you can make faster than delivery arrives. Seriously.
One email. No spam. Unsubscribe anytime.
Instructions
- Mix the creamy base:
- In a medium bowl, whisk together the milk, heavy cream, sweetened condensed milk, cooled espresso, vanilla bean seeds or extract, and sugar until everything looks smooth and uniform. You want to make sure the sugar dissolves completely, so don't rush this step.
- Melt the fudge layer:
- Combine your chocolate chips and cream in a microwave-safe bowl, then microwave in short 20-second bursts, stirring between each interval until the chocolate is perfectly smooth and glossy. Let it cool for just a minute or two so it's not piping hot when you add it to the molds.
- Build the fudge foundation:
- Spoon about a teaspoon or two of that silky chocolate fudge into the bottom of each popsicle mold, creating a thin layer that will surprise you when you bite into the pop later. If you want a marbled effect, use a toothpick to swirl it around a bit.
- Pour the frappuccino layer:
- Carefully pour or spoon the vanilla coffee mixture over the fudge, filling each mold almost to the very top but leaving just a tiny bit of room for the stick. Take your time here so you don't accidentally mix the layers together.
- Insert sticks and freeze:
- Pop the sticks into the center of each mold and slide the whole thing into your freezer for at least four hours, though overnight is even better if you can wait that long. You'll know they're ready when they're completely solid and don't shift around when you give the mold a gentle shake.
- Release and enjoy:
- Run the outside of the mold under warm water for just a few seconds until the pops slide out easily, then eat them immediately because they melt faster than you'd expect. The warm water trick is genuinely life-changing and makes the whole removal process feel effortless.
 Pin it
 There's something almost magical about pulling these out of the freezer on a sweltering afternoon and watching them slowly melt on your tongue, that fudge center revealing itself like a delicious surprise. My kids now request these instead of store-bought pops, which feels like winning at the parenting and cooking thing simultaneously.
The Dairy-Free Swap
If dairy isn't your thing, you can absolutely make these work by swapping in coconut milk and coconut cream for all the dairy components, and honestly, they turn out beautifully. The coconut flavor plays surprisingly well with the coffee and vanilla, creating something that tastes different but equally delicious. Just make sure you're using full-fat coconut products so you get that creamy texture you're after.
Adjusting the Coffee Flavor
The coffee strength is entirely up to you, so if you're someone who takes your coffee seriously, you can absolutely use even stronger espresso or add an extra tablespoon or two. If you're making these for people who are coffee-curious but not coffee-obsessed, scale it back to a quarter cup and see how it tastes. The beauty of making your own is that you get to dial it in exactly how you want it.
Storage and Make-Ahead Tips
These pops stay frozen beautifully for up to two weeks if you keep them in an airtight container or wrapped individually in freezer paper, which actually makes them perfect for meal prepping ahead of time. You can also prepare the mixture and store it in the refrigerator for up to 24 hours before pouring into molds, which is helpful if you're planning ahead for a party. One thing I've learned is that they actually taste better after sitting in the freezer for a full 24 hours because the flavors meld together and everything gets supremely creamy.
- Wrap finished pops in wax paper or parchment to prevent them from sticking together in the freezer.
- If you forget to add the sticks before freezing, you can insert them into slightly softened pops and refreeze for another hour.
- These taste absolutely phenomenal straight from the freezer, but if they've melted slightly and refrozen, they actually develop an even creamier texture.
 Pin it
 These vanilla bean frappuccino fudge pops have genuinely become my answer to almost every summer gathering, and I hope they become yours too. Make a batch this week and taste the difference that a little bit of homemade effort makes.
Recipe FAQs
- → Can I use regular brewed coffee instead of espresso?
Yes, strong brewed coffee works well though espresso provides a more concentrated flavor.
- → How can I make a dairy-free version?
Substitute the milk, cream, and sweetened condensed milk with coconut milk and coconut cream alternatives.
- → What is the best way to remove pops from molds?
Run the outside of the molds briefly under warm water to loosen the pops before gently pulling them out.
- → Can I swirl the fudge layer for a marbled effect?
Absolutely, swirling the fudge mixture into the creamy layer before freezing creates a beautiful marbled look and balanced flavor.
- → How long should these frozen treats be left to set?
They require at least 4 hours in the freezer to fully solidify and develop the best texture.