Pin it
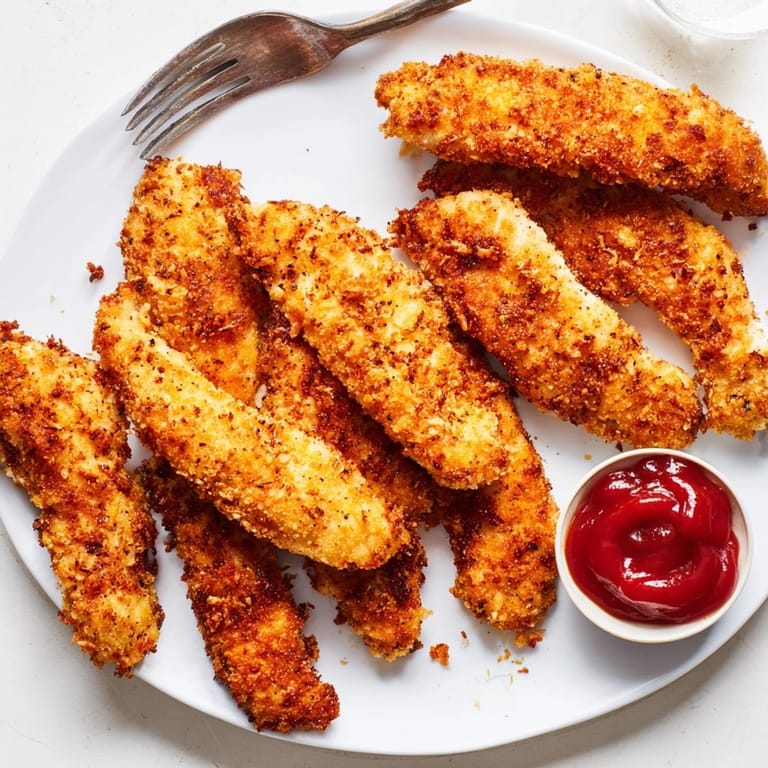
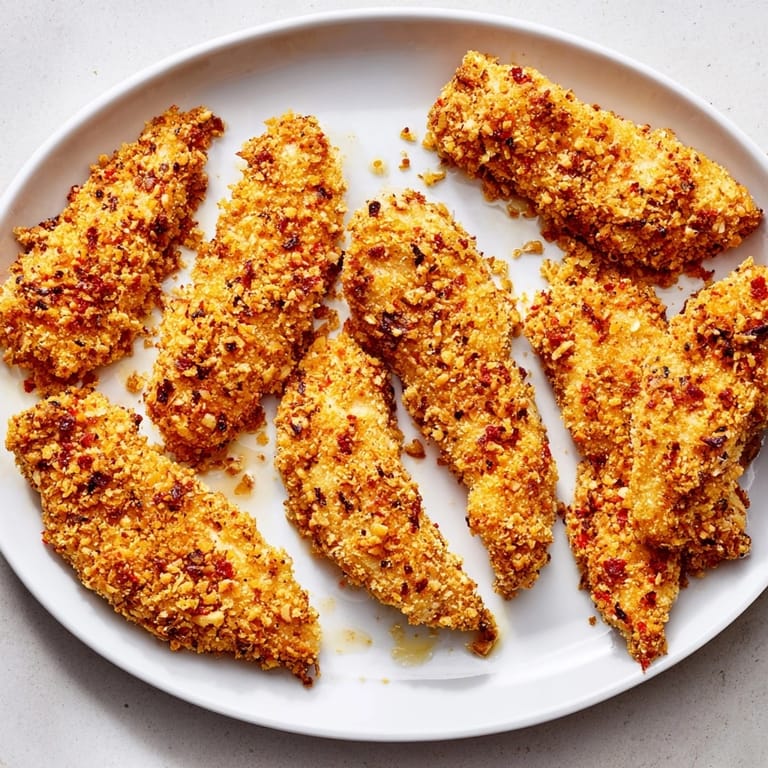
 Golden crunchy chicken tenders baked to perfection for a healthier take on a family favorite. These baked chicken tenders strike that perfect balance juicy on the inside and crispy on the outside making them a favorite for both kids and adults. This recipe cuts down on oil and mess yet never compromises on flavor or that irresistible crunch everyone craves.
I started making these when my kids begged for takeout chicken strips every weekend. Baking them at home quickly became our go to because we could jazz them up with spices and feel great about what was in our dinner.
Ingredients
- Chicken tenders or boneless skinless chicken breasts: sliced into strips ensures maximum juiciness look for fresh chicken with pink meat and no odor
- Panko breadcrumbs: give that signature crunch choose unseasoned for best control over flavors
- Cornflakes crushed: adds an extra crispy texture and golden color check for low sugar versions
- Garlic powder: for flavor depth opt for granulated garlic with no added salt
- Paprika: brings subtle warmth and a vibrant color try using smoked for added flavor
- Salt and black pepper: balances and enhances all other flavors use fine sea salt and freshly cracked pepper for best results
- Large eggs: help the breading stick and keep the coating light choose farm fresh if available
- Milk: creates a smooth coating use whole milk for richer results
- Olive oil spray or a drizzle: gives a golden crisp without deep frying stick to extra virgin for best taste
Tired of Takeout? 🥡
Get 10 meals you can make faster than delivery arrives. Seriously.
One email. No spam. Unsubscribe anytime.
Instructions
- Preheat the Oven:
- Set the oven to 425°F or 220°C and prepare your baking sheet with parchment paper or a light coating of oil. This high heat ensures a crisp crust without drying out the chicken.
- Mix the Breading:
- In a shallow bowl combine panko breadcrumbs crushed cornflakes garlic powder paprika salt and pepper. Toss thoroughly to distribute spices and prevent bland spots.
- Prepare the Dredge:
- In another bowl whisk eggs and milk together until smooth. This mixture helps the crumbs stick uniformly and creates a tender base for the crispy shell.
- Prep the Chicken:
- Pat all chicken strips completely dry using paper towels. Removing excess moisture means the breading adheres better and the final result will be crispier.
- Bread Each Piece:
- Dip chicken into the egg mixture to fully coat then roll in breadcrumb mixture pressing gently so every bit is covered. Set each piece aside on a plate until all are coated to ensure easy transfer to the pan.
- Arrange and Oil:
- Place breaded chicken strips on the ready baking sheet leaving a bit of space between each. Lightly mist or drizzle with olive oil so the oven can brown them all over.
- Bake to Perfection:
- Slide the tray into your hot oven. At the halfway point carefully flip each strip for even color and crispiness. Bake til golden brown on both sides and they reach 165°F on a thermometer around eighteen to twenty minutes.
- Rest and Serve:
- Once baked let the chicken tenders rest for two or three minutes. This helps juices settle back in for maximum tenderness when you bite in.
 Pin it
 When I use smoked paprika in the breading my kitchen smells amazing and my family knows what is coming. There was a day my youngest helped crush the cornflakes and now she insists on being head of breading duty every time. It is one of those recipes that invites everyone into the process.
Storage Tips
Keep leftover chicken tenders in an airtight container in the fridge for up to three days. To reheat and keep them crispy pop them in a hot oven or toaster oven for about ten minutes. Avoid microwaving since it softens the coating.
Ingredient Substitutions
For gluten free breading choose gluten free panko and cornflakes. Dairy free milk works well in place of cow's milk in the egg wash. You can even use turkey breast strips instead of chicken for a leaner twist.
Serving Suggestions
Serve these tenders with classic dipping sauces like honey mustard ranch or ketchup. For a grown up spin toss them with buffalo sauce or nestle them inside a wrap with crisp lettuce and creamy dressing.
Cultural and Historical Context
Chicken tenders have roots in American fast food but making them at home lets you skip deep frying and excess additives. The combo of crunchy cereal and breadcrumbs reflects a long tradition of inventive home cooks looking to maximize crunch with pantry staples.
Seasonal Adaptations
Change up the seasoning blend with fresh herbs in summer or a pinch of cayenne in winter Pair with a winter slaw or summer corn salad for balance Use crumbled leftover tenders atop salads or grain bowls any season
Success Stories
Guests rave when I pull a tray of these out for game night and no one misses the deep fried version. I even freeze a batch for quick lunches. My neighbor borrowed this recipe and now makes double every time for school lunches.
Freezer Meal Conversion
To freeze after breading lay raw coated strips on a tray to firm up in the freezer then store in freezer bags. Bake directly from frozen at 400°F adjusting time as needed until fully cooked and crispy.
 Pin it
 Bake a double batch so you will always have some left for lunches. These tenders are sure to become a staple in your family menu.
Recipe FAQs
- → How do you get chicken tenders extra crispy in the oven?
Use panko breadcrumbs and crushed cornflakes for maximum crunch. A light spray or drizzle of olive oil helps achieve a golden finish.
- → Can you prepare these ahead of time?
Yes, bread the chicken in advance and refrigerate up to 4 hours before baking for convenient meal planning.
- → How do you know when the tenders are fully cooked?
When the coating is golden and the internal temperature reaches 165°F (74°C), the chicken is ready to serve.
- → Are there gluten-free options?
Swap in gluten-free panko and cornflakes to make this dish suitable for gluten-free diets.
- → What sauces go well with these tenders?
Try honey mustard, ranch, or ketchup for classic dipping options, or experiment with your favorites.