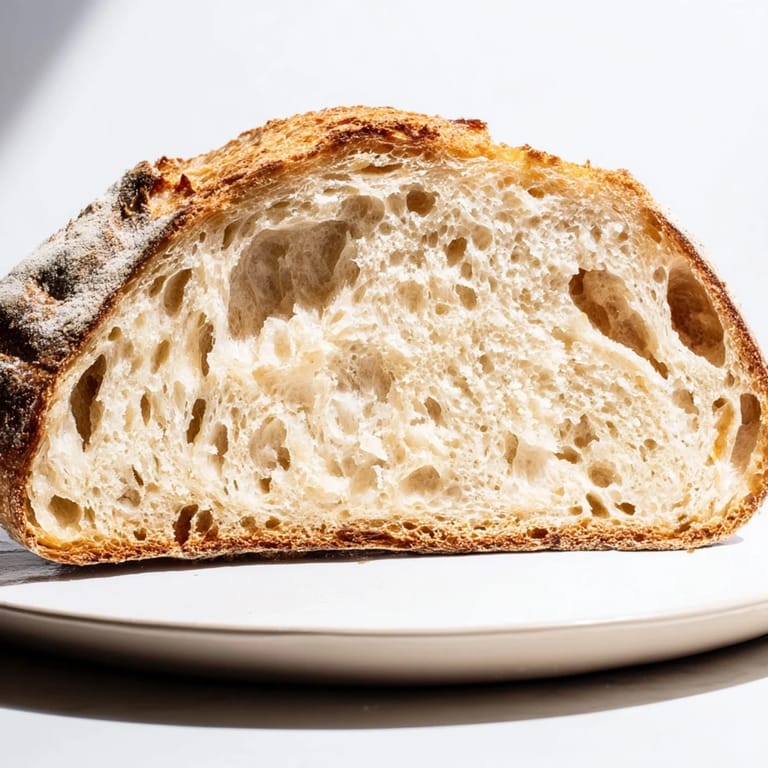
Pin it
 A wonderfully crusty, airy artisan-style bread made with minimal effort and simple ingredients perfect for beginners and bread enthusiasts alike.
I have found this bread to be surprisingly easy to make and a crowd-pleaser every time I bake it.
Ingredients
- All-purpose flour: 3 cups (375 g)
- Instant yeast: 1/4 teaspoon (1 g)
- Salt: 1 1/4 teaspoons (8 g)
- Lukewarm water: 1 1/2 cups (360 ml)
Tired of Takeout? 🥡
Get 10 meals you can make faster than delivery arrives. Seriously.
One email. No spam. Unsubscribe anytime.
Instructions
- Step 1:
- In a large bowl, whisk together flour, instant yeast, and salt.
- Step 2:
- Add the lukewarm water and mix with a wooden spoon or spatula until a shaggy, sticky dough forms.
- Step 3:
- Cover the bowl tightly with plastic wrap or a clean kitchen towel. Let it rest at room temperature for 12–18 hours, until the surface is dotted with bubbles and dough has doubled in size.
- Step 4:
- Lightly flour a work surface and turn the dough out onto it. With floured hands, fold the dough over on itself once or twice. Shape it loosely into a ball.
- Step 5:
- Place dough seam-side down on a piece of parchment paper. Cover with a towel and let rest for 30–60 minutes while the oven preheats.
- Step 6:
- Place a Dutch oven (or heavy lidded pot) in the oven and preheat to 450°F (230°C) for at least 30 minutes.
- Step 7:
- Carefully remove the hot pot from the oven. Lift the dough with parchment paper and lower both into the pot. Cover with the lid.
- Step 8:
- Bake for 30 minutes (lid on), then remove the lid and bake another 15 minutes, until golden brown and crusty.
- Step 9:
- Transfer bread to a wire rack and let cool completely before slicing.
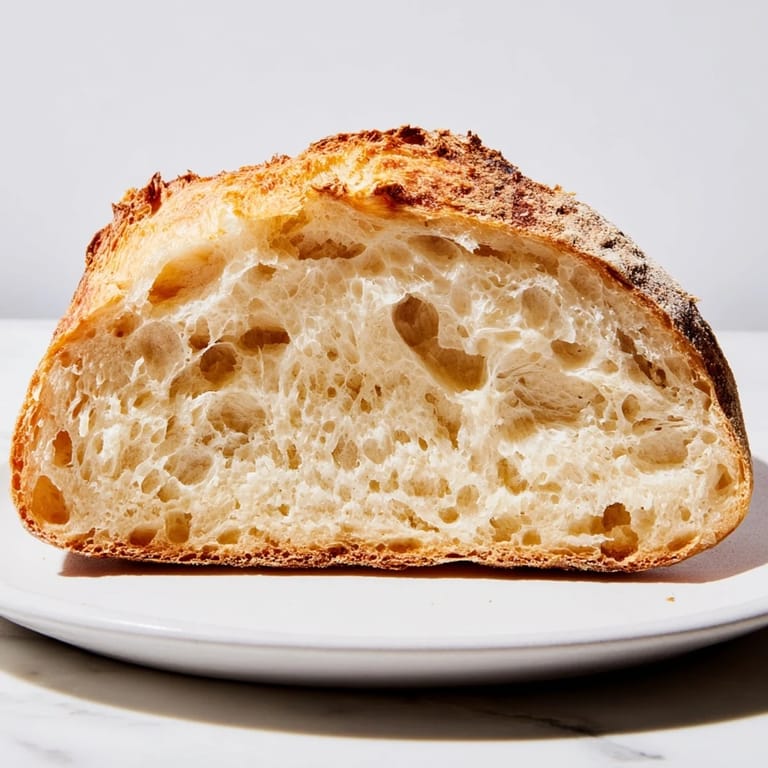
 Pin it
 This bread always brings my family together around the table and makes mealtime special.
Notes
For added flavor, mix in herbs, seeds, or roasted garlic before the first rise. For a chewier crust, spray the dough lightly with water before baking. Pairs excellently with soups, cheeses, or olive oil for dipping.
Required Tools
Large mixing bowl, wooden spoon or spatula, Dutch oven or heavy lidded pot, parchment paper, kitchen towel
Allergen Information
Contains gluten (wheat). Vegan-friendly. Always check packaging for cross-contamination if allergies are a concern.
 Pin it
 Enjoy this simple yet delicious bread fresh or toasted with your favorite toppings.
Recipe FAQs
- → Why is resting the dough important?
Resting allows yeast to ferment slowly, creating bubbles that result in a light, airy texture and enhancing flavor.
- → Can I add flavor variations to the dough?
Yes, incorporating herbs, seeds, or roasted garlic before the first rise can add unique flavors.
- → What is the purpose of baking in a Dutch oven?
Baking in a covered Dutch oven traps steam, promoting a crusty exterior and tender crumb.
- → How do I get a chewier crust?
Lightly spraying the dough with water before baking helps develop a chewier crust.
- → Is kneading necessary for this bread?
No kneading is required; the long rest period allows gluten to develop, making the dough easy to handle.